

how to build a stashbusting rug.
Jeanne asked about how my rug was made. It's an Aunt Philly's Toothbrush Rug and uses a lot of cotton fabric. I am making mine with homespuns and solids so I won't have to worry about the back of the fabric showing. It is made with 2 inch strips that have to be torn so they won't fray after the rug is made.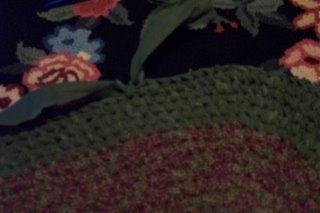 It's not braided or lashed together it's more like knotting using a needle.
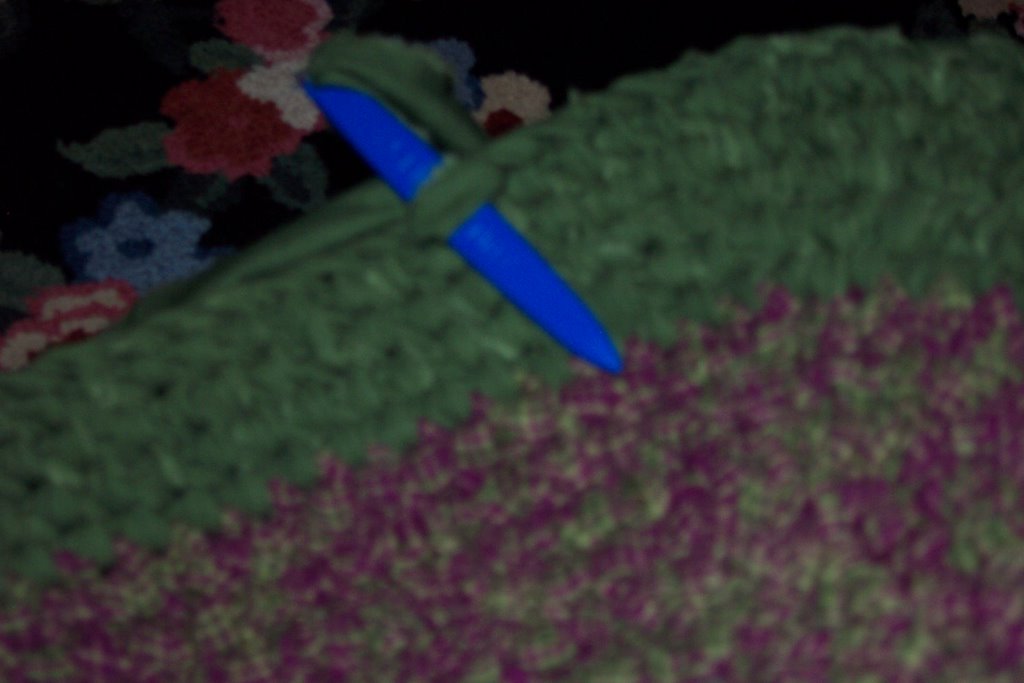
The basic stitch is made with 2 strips, one runs around the edge and the second knots around it.
The needle is flat, plastic with a dull point and large hole at the end. Lace the needle through the loop along the top going under the runner strip.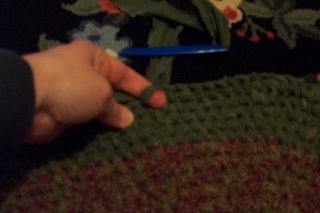
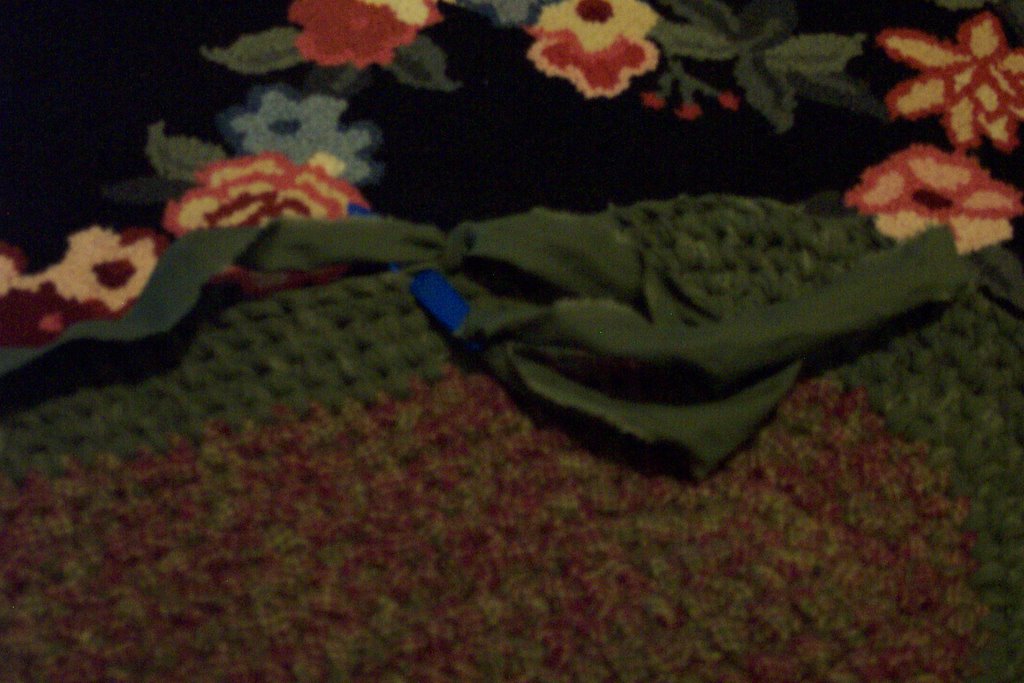
Using your finger to set your tension tighten the loop you just made and then remove your finger.
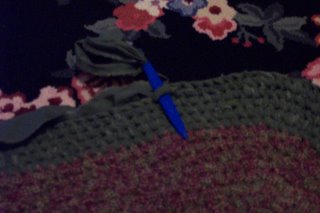
Lace the strip back through the loop left by your finger from top to bottom.
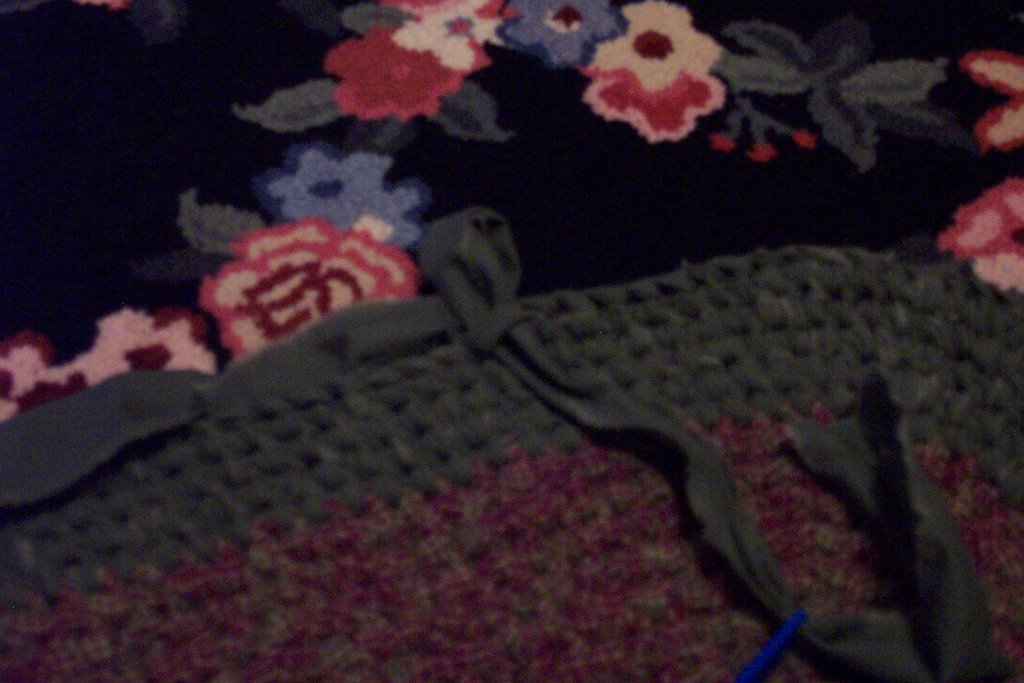
Pull the strip through and tighten.
It's a really simple stitch and goes pretty quickly, but can get tedious. I'm going to have to alternate it with other projects or I will get bored and never finish. :>/
 It's not braided or lashed together it's more like knotting using a needle.
The basic stitch is made with 2 strips, one runs around the edge and the second knots around it.
The needle is flat, plastic with a dull point and large hole at the end. Lace the needle through the loop along the top going under the runner strip.

Using your finger to set your tension tighten the loop you just made and then remove your finger.

Lace the strip back through the loop left by your finger from top to bottom.
Pull the strip through and tighten.

It's a really simple stitch and goes pretty quickly, but can get tedious. I'm going to have to alternate it with other projects or I will get bored and never finish. :>/
posted by tami | 8:14 PM
![]()
3 Comments:
Thanks for the demo, Tami! This isn't what I thought you were doing -- I thought it was a braided rug. This seems to be sort of a knotting thing, huh? Haha, when I get some free time, I'll have to give it a try :)
I almost tried to do that a while back. Maybe you've renewed my interest. Looks like fun and you're right . . a great way to use the stash!
Judy L.
I like the look of your rug, and am going over to get a DVD and a few "needles" to give it a try... I've always liked the look of braided rugs, and these are lovely too! If I don't like it, I can always pass it on...but have to give it a try...like I need another project, LOL!!
Post a Comment
<< Home